Logging your meals is a great way to stay connected to your health and helps your care team support you even better. Any time you're trying to improve how you eat, or how your body responds to what you eat, log it! One of the easiest ways to do this is by snapping a quick photo of your meal. That’s where the Food Diary comes in. Here’s how to make the most of it.
📔 How to Upload a Food Diary
Let’s start with how to find and use this feature.
Step 1: Open the Food Diary
- Tap the “+” sign on your Home screen
- Select “Food Diary”
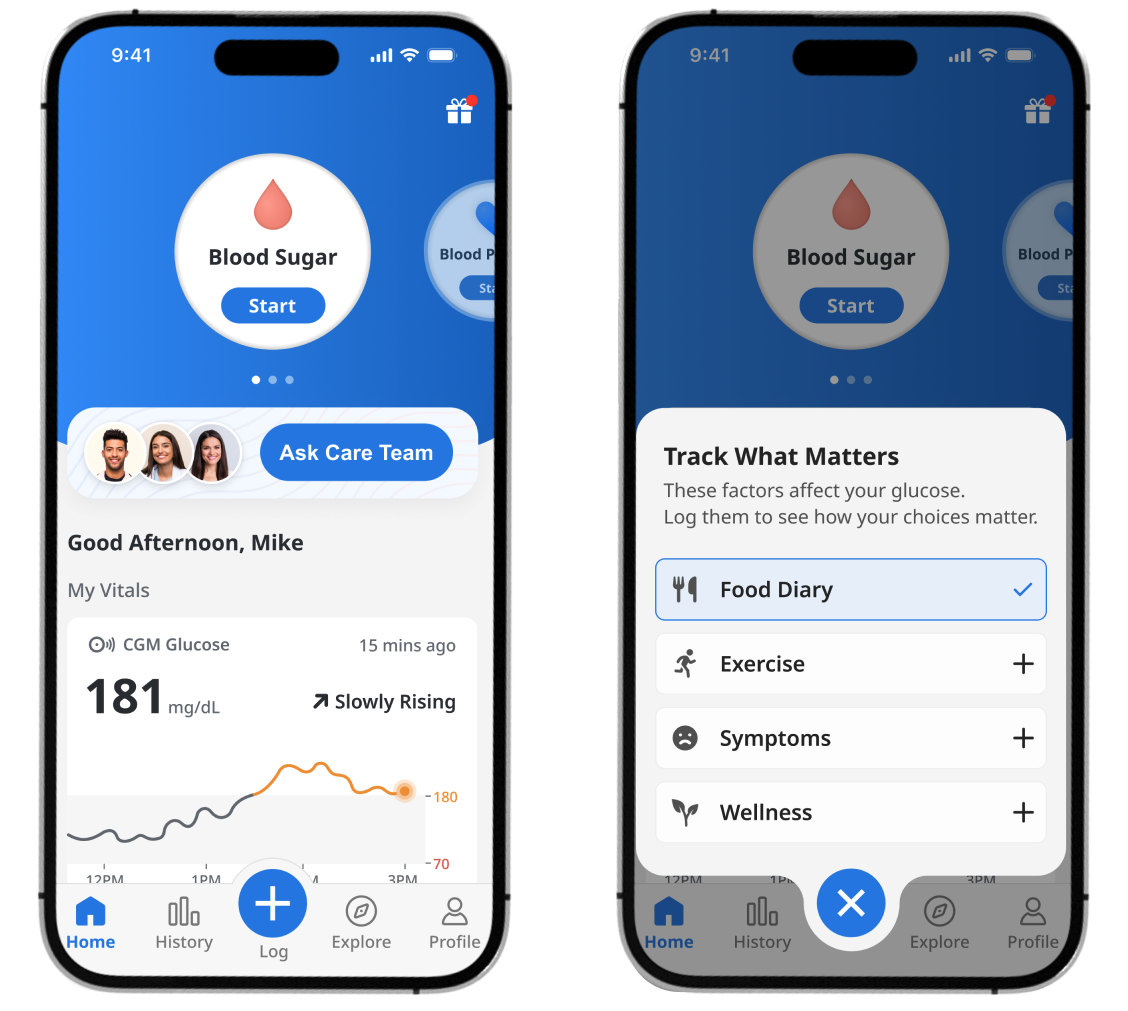
Step 2: Add Your Meal
You’ll see two options:
- Scan (recommended) – take a photo of your meal
- Describe – type in what you ate

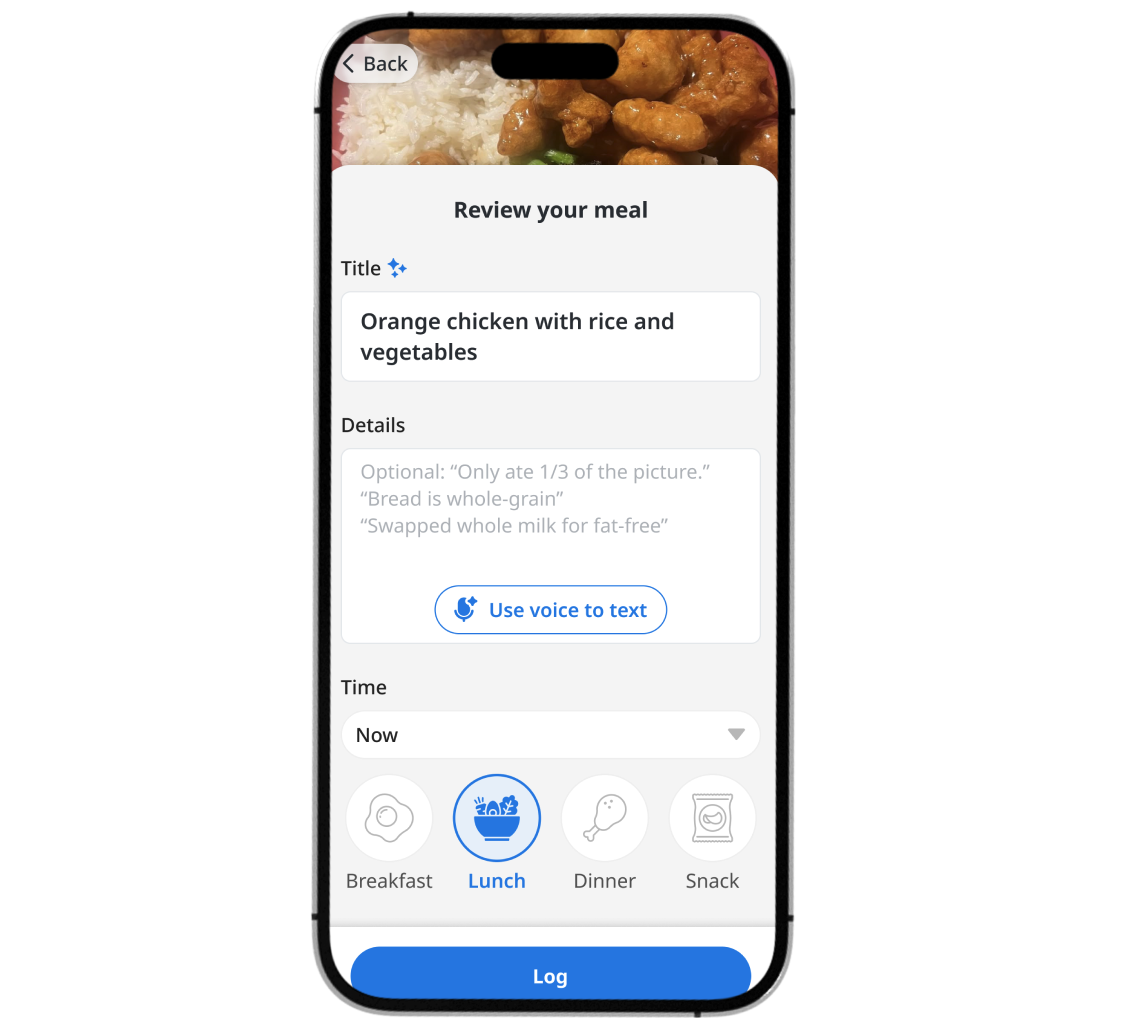
Step 3: Submit Details (Optional)
After you add a photo:
- The app will suggest a meal name — feel free to edit it if it’s not quite right
- You can also add a short note if helpful
You don’t need to write anything long. Just a few words can make a big difference.
Example:
“Turkey sandwich — only ate about 1/3.”
Step 4: Review Meal Insights
After you submit your photo, you may see immediate meal insights based on what was logged.
These insights are meant to be helpful and educational, but they are not medical advice. If anything looks confusing or raises questions, your care team is always the best place to get personalized guidance.

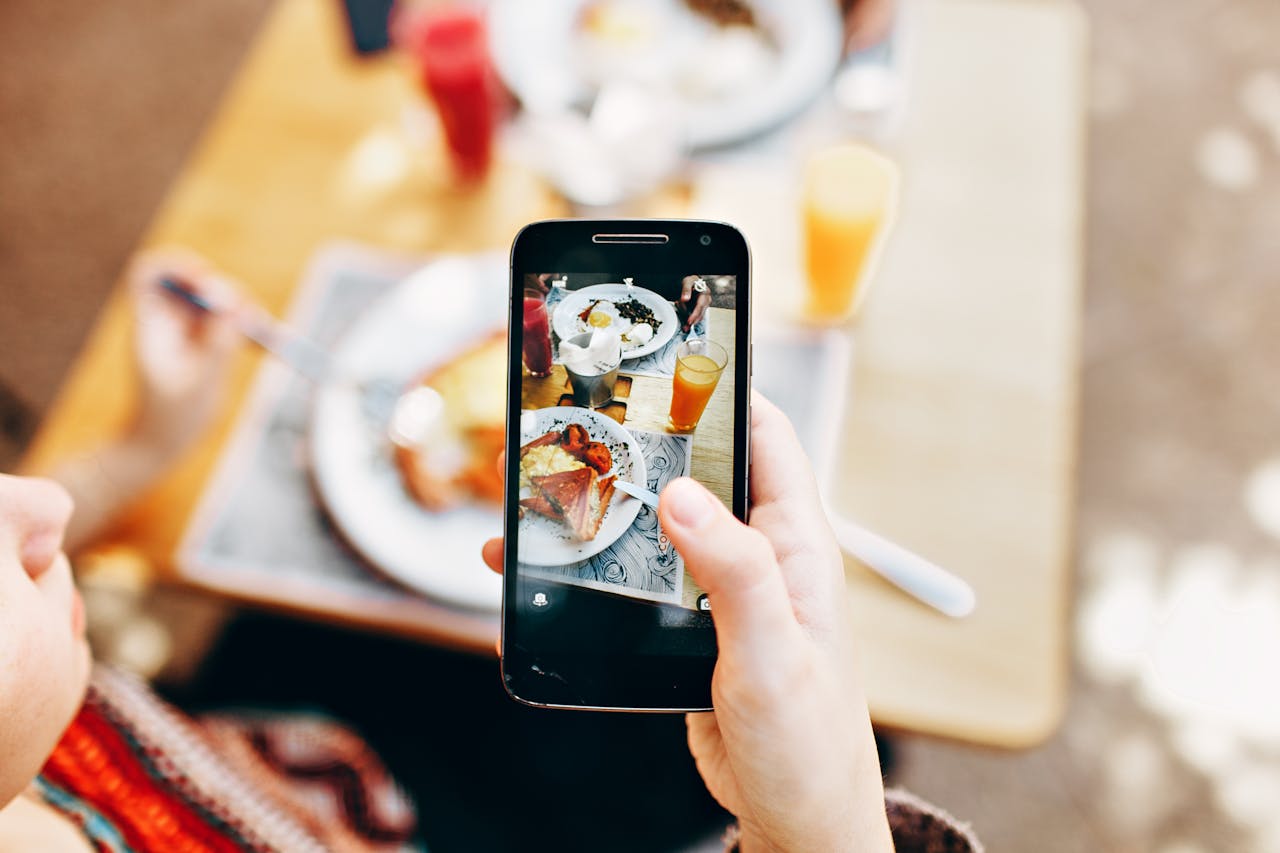
📸 How to Take a Helpful Food Photo
We love seeing photos of your meals — they give us a better picture of your day. To make photos even more useful, try these simple tips:
- Snap your meal from a slight angle, in good lighting, and capture the whole plate.
- Add a utensil if you want a better estimate of portion size and scale.
That’s it. Small steps like these really help.
🧡 Bottom Line
We are here to support you, and your food diary plays a big part in that. A well lit, complete photo gives us a better picture of what you are eating and how we can help you feel your best.
Thank you for sharing your meals with us. We really enjoy seeing them.